


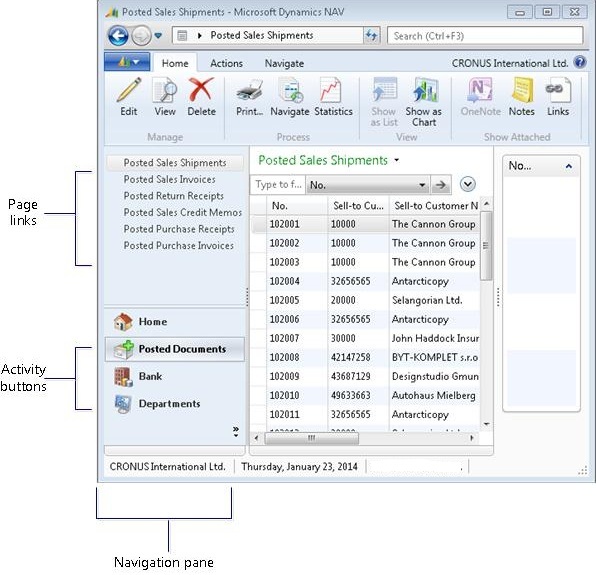
The Microsoft Dynamics NAV Windows client includes images that you can use on activity buttons in the navigation pane. Images are displayed on the left side of activity buttons, as shown in the following navigation pane example.
 Note Note |
|---|
| You cannot set up an image on the page links of an activity button. All page links in the navigation pane use a default image that cannot be changed. |
You set up activity buttons the page that is used as the Role Center. To complete this procedure, you must have the name or ID of the Role Center page.
To set up image on an activity button
To open Object Designer, in the development environment, on the Tools menu, choose Object Designer.
To open Page Designer, in Object Designer, choose Page, select the Role Center page, and then choose the Design button.
On the View menu, choose Page Actions.
In Action Designer, locate the action that has the Type set to ActionContainer and the SubType set to ActivityButtons.
This defines the activity button container.
Select the ActionGroup row for the activity button on which you want the image. Activity buttons are defined by the actions that have the Type set to ActionGroup.
On the View menu, choose Properties.
In the Properties window, in the Value column of the Image property, choose the AssistEdit button.
In the Image List window, select the image that you want to use for the activity button, and then choose the OK button.
Close the Properties window, and save the page.
| Note |
|---|
| If the Microsoft Dynamics NAV Windows client is currently open, you will not see your changes until you close and restart. |